Instagram best practices are no longer just about posting a good photo, adding a caption and hoping the algorithm is kind. Today, a strong Instagram presence uses Reels, feed posts, Stories and Highlights together. Each format has a different job. Each feature creates a different path to reach, trust, traffic or conversion. The problem? Most brands still treat Instagram like one big content bucket.
That is why performance feels random.
A Reel gets views, but no clicks. A Story gets replies, but disappears. A carousel gets saves, but does not bring new followers. A Highlight has useful information, but nobody updates it. You might be wondering: so what should I actually post, and where?
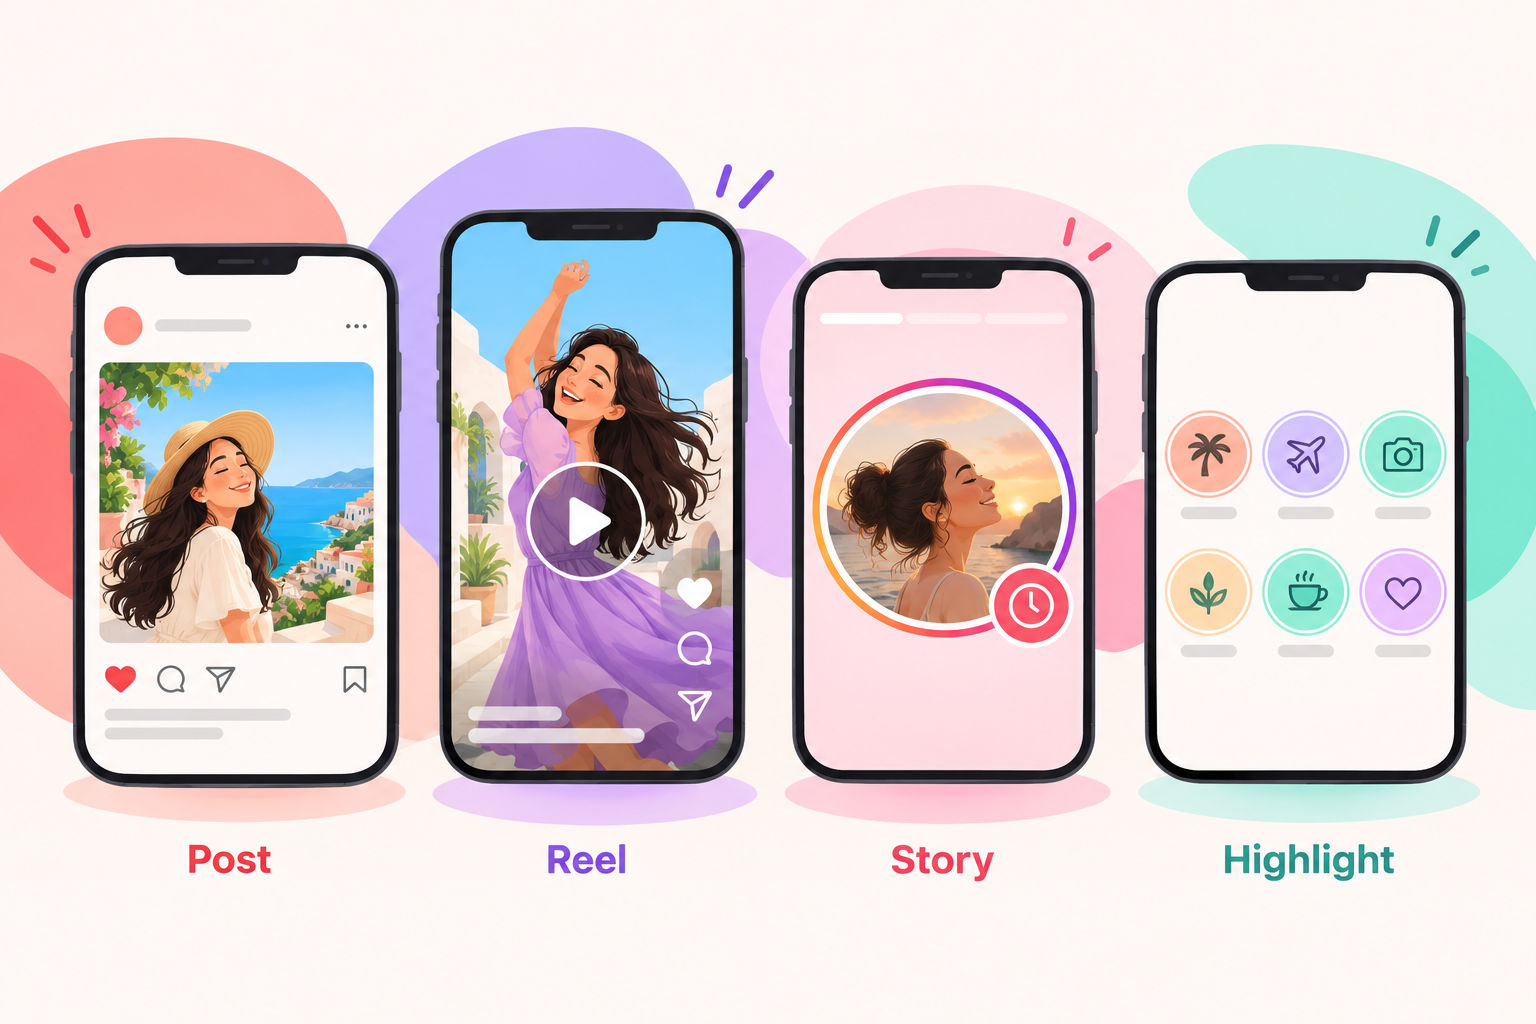
Here is the simple answer. Use Reels for discovery. Use posts for depth and saves. Use Stories for daily engagement. Use Highlights to turn temporary moments into permanent trust assets. Then layer in the features Instagram already gives you: tags, locations, subtitles, music, reminders, product tagging, scheduling and cross-posting.
But here’s the kicker. The brands that win are not using every feature randomly. They use the right feature at the right moment in the content journey.
The Real Problem: Instagram Content Is Treated Like One Format
Many teams create one piece of content and push it everywhere. The same message becomes a Reel, a post, a Story and maybe a Highlight. That sounds efficient. But it usually weakens the result.
Why? Because each Instagram format has a different user mindset.
- Reels are for people who may not know you yet.
- Posts are for people who want to understand, save or compare.
- Stories are for people who already follow you and want quick updates.
- Highlights are for profile visitors who are deciding whether to trust you.
That difference matters. A Reel needs a fast hook. A carousel needs a clean idea. A Story needs immediacy. A Highlight needs structure. If you ignore that, you end up with content that technically exists but does not do its job.
The good news? You do not need a complicated strategy. You need a format-specific publishing system.
The Solution: Give Every Instagram Format a Clear Job
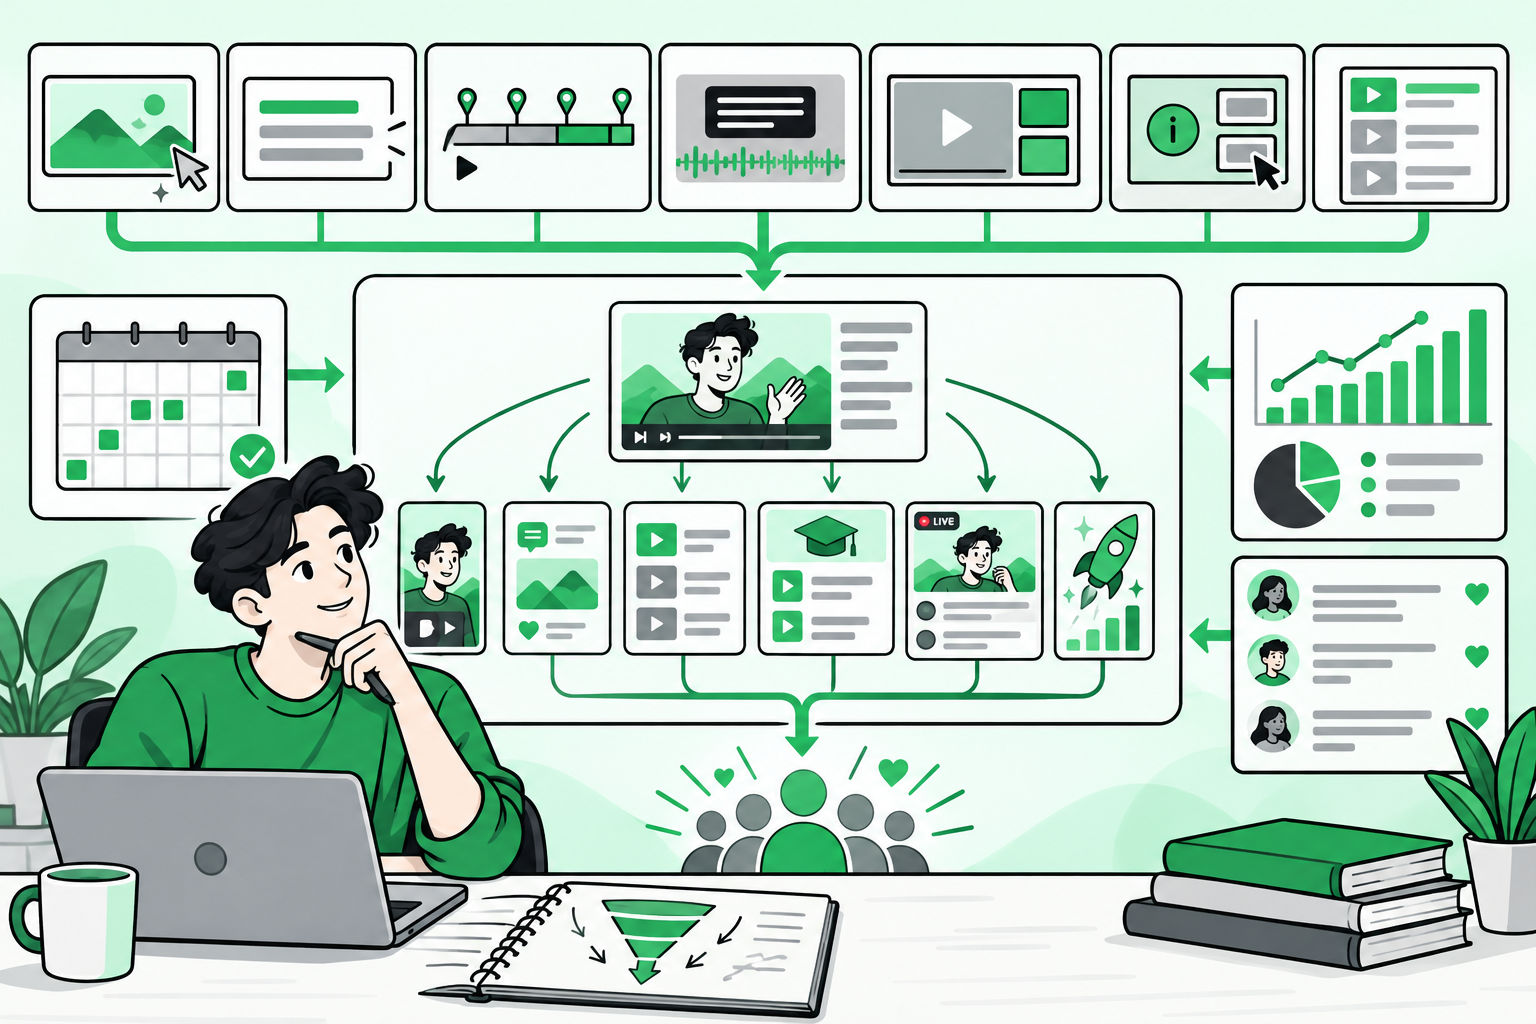
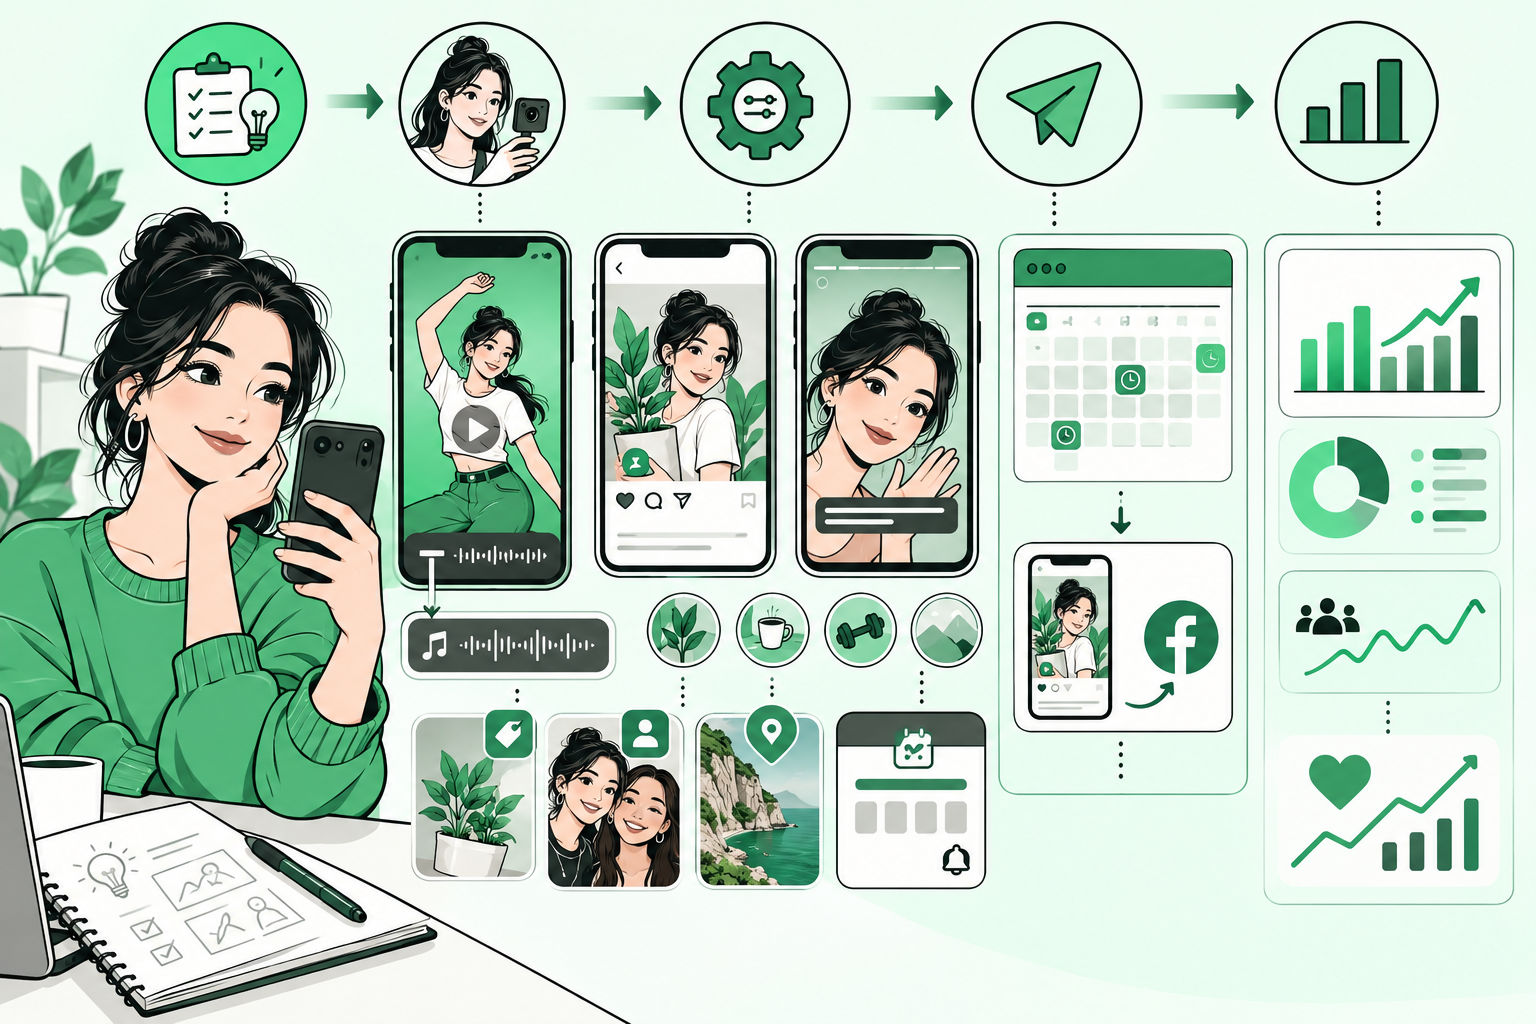
Think of Instagram as a content funnel. Reels create reach. They help new people discover your brand. Posts create memory. They explain the idea, product or story in a savable way. Stories create interaction. They keep your audience close through polls, links, countdowns, replies and updates. Highlights create proof. They organize your best Stories into permanent profile sections.
Once you understand this, the features start making sense. Tag people when collaboration or credibility matters. Tag products when shopping intent matters. Add a location when local discovery matters. Add subtitles when clarity matters. Add music when the mood or trend matters. Use scheduling when consistency matters. Use cross-posting when the same asset can safely reach a Facebook audience too.
Let’s break it down.
Instagram Reels Best Practices
Reels are usually the best format for reach. They are built for short-form video discovery. People can find them from the Reels tab, Explore, feed recommendations and sometimes Facebook if cross-posting is enabled.
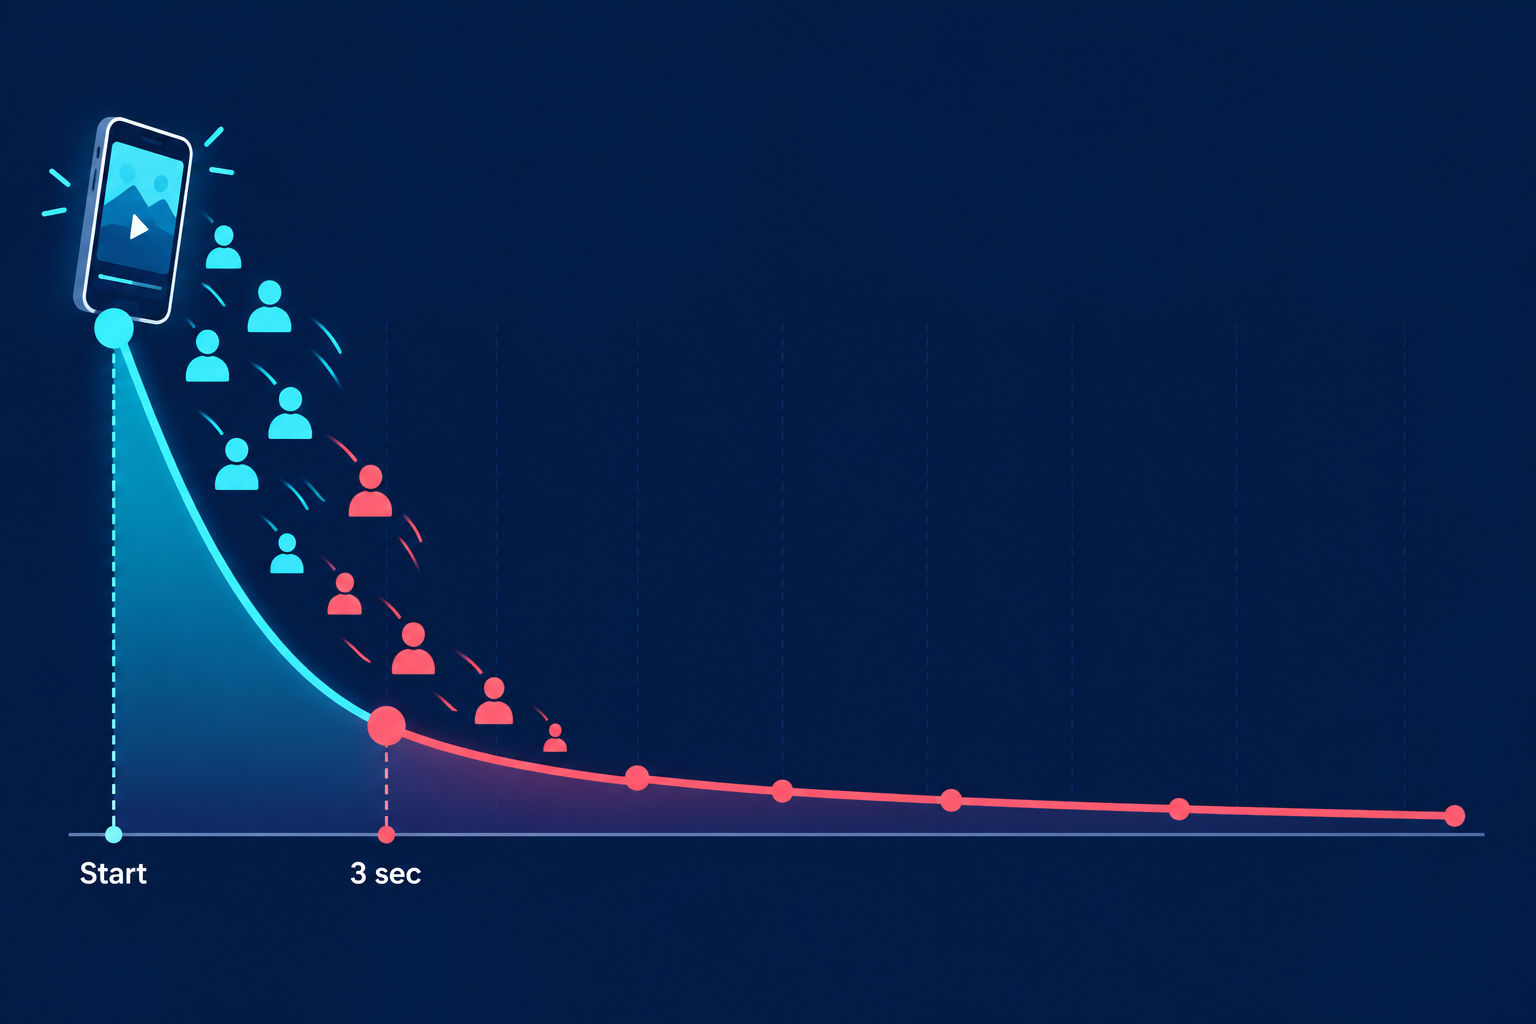
The biggest mistake brands make with Reels is starting slowly. You do not have time for a long intro. The first few seconds need to create a reason to keep watching.
1. Start With a Hook in the First 1-3 Seconds
Your hook can be a bold statement, a visual surprise, a problem, a question or a before-and-after moment. The viewer should understand the reason to watch before they decide to scroll.
Examples include: stop posting Reels like this; here is why your product demo is not converting; three Instagram features most brands forget to use; and before you publish your next Reel, check this.
But here’s the kicker. The hook is not just the first line of the caption. It is the first visual frame, the on-screen text, the movement, the audio and the promise of the video.
2. Add Subtitles or On-Screen Captions
Many people watch video without sound. Others are in public places. Some need captions for accessibility. Subtitles make your Reel easier to understand even when the audio is muted.
Use Instagram’s caption sticker when it fits. Review the auto-generated text before publishing. Fix names, product terms and industry words. Bad captions make a brand look careless.
3. Use Music Tracks and Audio With Intention
Music can make a Reel feel current. Trending audio can help with discoverability. Original audio can build brand recognition. Voiceover can explain a product or tell a stronger story.
The rule is simple: do not add music just because the option exists. Add a music track when it improves pace, emotion or cultural fit. If the video teaches something, keep the audio low enough that the message is clear.
4. Tag People, Collaborators and Products
Tagging is not decoration. It creates discovery paths. Tag people when a creator, employee, customer, speaker or partner is part of the content. Invite collaborators when both accounts should share ownership and visibility. Tag products when the Reel shows a shoppable item or product-led moment. Tag location when the content is tied to a city, store, event, restaurant, office, venue or local experience.
You might be wondering: should every Reel have every tag? No. Use tags only when they add context or distribution. Random tags can look spammy. Relevant tags can create reach.
5. Use Event Reminders for Launches, Lives and Drops
If your Reel promotes a launch, webinar, live session, store opening, sale, product drop or campaign moment, use an event reminder. Reminder features help followers opt in to be notified instead of relying on them to remember.
This is especially useful for brands that run time-sensitive campaigns. A normal post says this is happening. A reminder lets the audience say: tell me when it happens.
6. Choose a Cover That Makes the Grid Clear
Your Reel may be discovered in the Reels tab, but it also lives on your profile. Choose a cover that explains the topic at a glance. Use a clean frame, a face, a product shot or a strong text overlay. Avoid blurry mid-motion frames.
Instagram Posts Strategy: Photos, Carousels and Feed Content
Posts are where your ideas become savable. A feed post can be a single image, a video or a carousel. For many brands, carousels are the best format for education, product explanation, step-by-step breakdowns and thought leadership.
The problem? Most brands design posts for themselves, not for the person scrolling.
1. Make the First Slide or Image Do the Heavy Lifting
The first slide needs to stop the scroll and explain the benefit. Do not start with a logo-heavy intro. Start with the problem, result or promise.
For example, instead of Our New Summer Collection, try 5 ways to style linen without looking too casual. Instead of Marketing Tips, try The Instagram checklist we use before every launch.
2. Use Carousels for Depth
Carousels work well because they create active engagement. The user swipes. They spend more time with the post. They can save it for later. That makes carousels useful for tutorials, lists, myths, mistakes, comparisons, frameworks and mini case studies.
Keep one idea per slide. Use large readable text. Add visual contrast. End with a clear next step.
3. Write Captions That Add Context, Not Clutter
A strong caption has three jobs: hook, context and action. The first line should give people a reason to tap more. The middle should explain the idea. The ending should tell them what to do next.
Use hashtags strategically. Do not paste the same list under every post. Mix category terms, niche terms, branded terms and campaign-specific terms. Three to five relevant hashtags are often cleaner than a block of twenty generic ones.
4. Tag Products, People and Locations When They Help Discovery
For commerce brands, product tags can reduce friction. A person sees the product, taps the tag and moves closer to purchase. For service brands, tagging people can build credibility. For location-based businesses, location tags can create local visibility.
Here’s why that matters. Instagram is not just a feed. It is also a discovery engine. Tags tell the platform and the user what the post is connected to.
Instagram Stories Best Practices
Stories are not just throwaway updates. They are where your warm audience interacts with you. Stories sit at the top of the app, feel immediate and invite quick action.
That makes them powerful for launches, reminders, behind-the-scenes content, polls, FAQs, limited-time offers and daily community building.
1. Use Stickers to Create Interaction
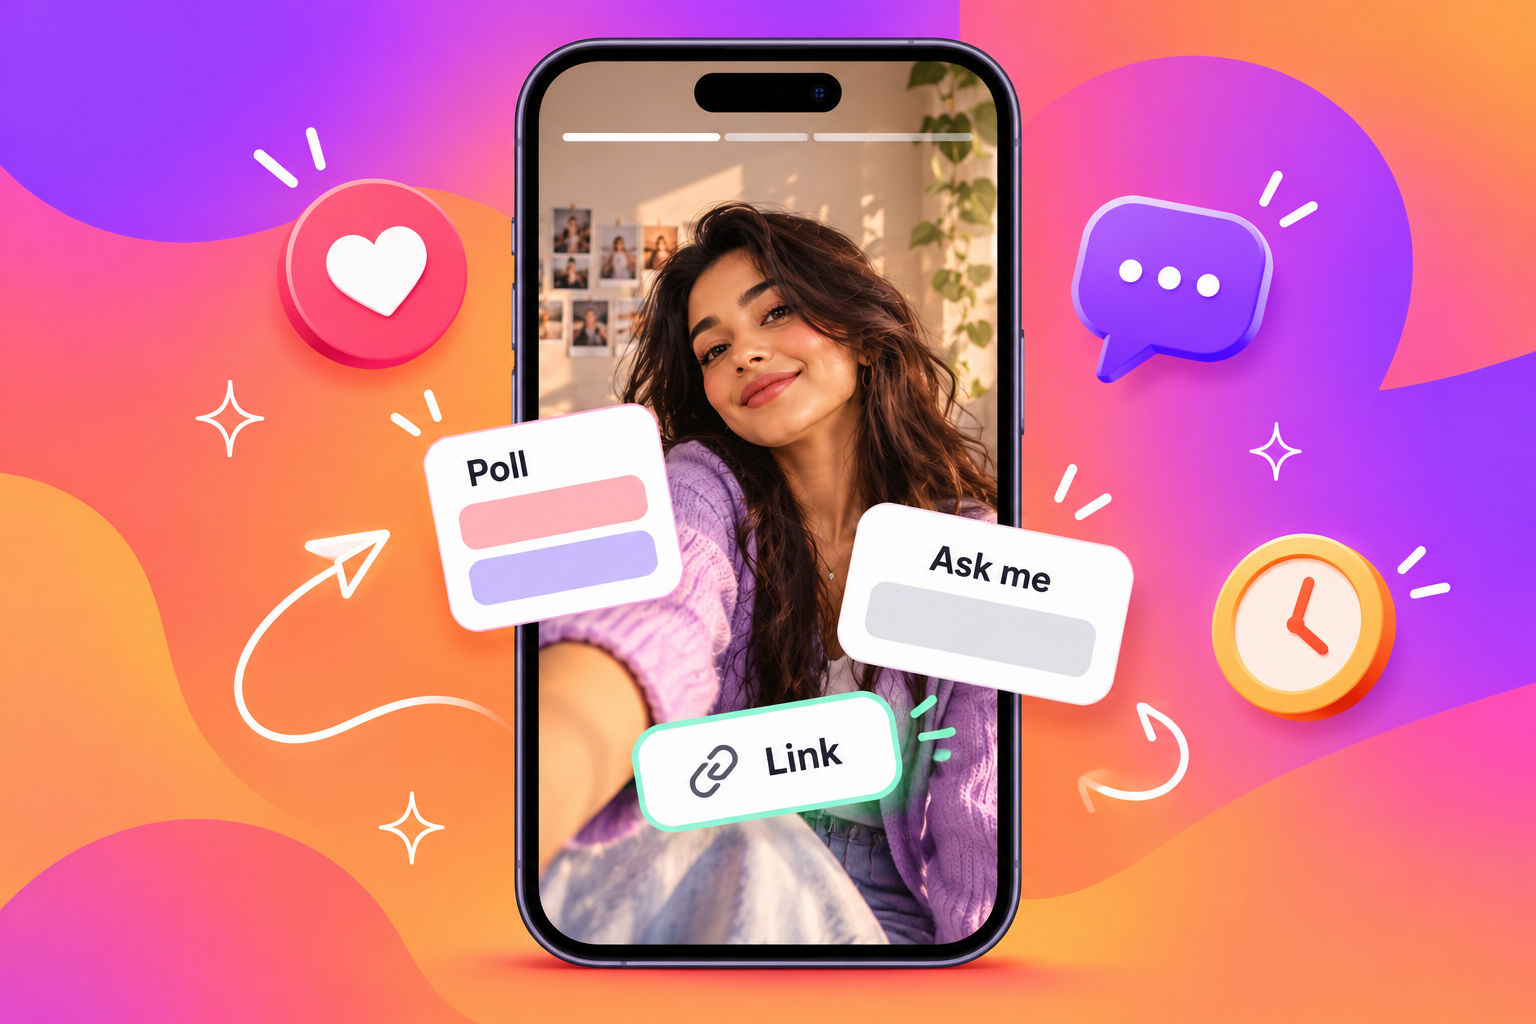
Stories become stronger when they are not passive. Use polls, quizzes, question boxes, sliders and Add Yours stickers to invite responses. These features help you learn what your audience cares about.
A simple poll can test a product idea. A question box can collect objections. A quiz can teach a feature. A slider can measure excitement. The goal is not just engagement for the sake of engagement. The goal is insight.
2. Use Countdown and Event Reminder Features
Countdowns and reminders are perfect for moments with a deadline. Use them for product launches, webinar starts, live sessions, event registrations, sale endings, new collection drops and campaign reveals.
Do not post one reminder and disappear. Build a sequence. Start with the announcement. Follow with proof or behind-the-scenes content. Add a countdown. Answer objections. Remind people again close to the event.
3. Add Links, Locations, Mentions and Product Tags
Stories can move people from interest to action quickly. Use link stickers for landing pages, registration pages, product pages, blog posts and booking pages. Use location stickers when the Story is tied to a physical place. Mention partners, creators, team members or customers when they are part of the Story. Tag products when the Story has a shopping angle.
But keep the screen clean. Too many stickers make a Story hard to read. One clear action usually beats five competing actions.
4. Design Stories for Fast Reading
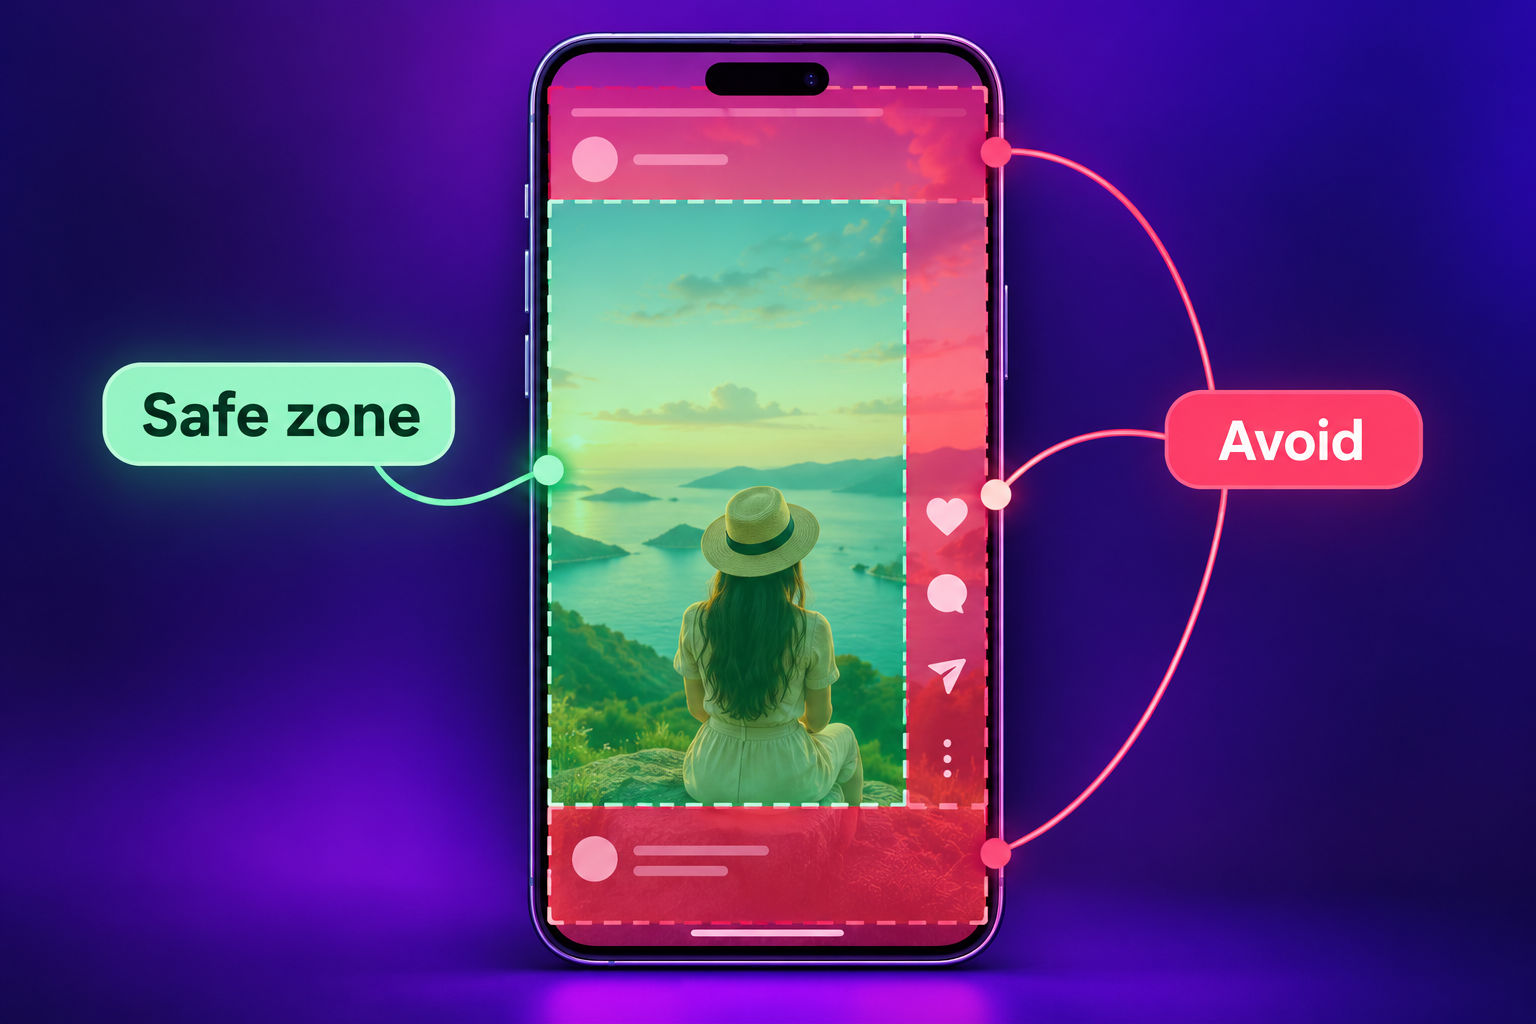
A Story is consumed quickly. Use big text, strong contrast and simple layouts. Keep important text away from the top and bottom interface areas. If the frame is too crowded, split it into two Stories.
Use subtitles when there is spoken audio. Use music when it adds emotion. Use GIFs and effects only when they support the message. The best Story feels easy to watch, not busy.
Instagram Highlights Best Practices
Highlights are often ignored. That is a mistake.
When someone visits your profile, Highlights can answer the questions they already have. What do you sell? Can I trust you? What results do you create? Where can I start? What events are coming up? What products are popular?
Stories disappear after 24 hours. Highlights turn the best Stories into permanent profile assets.
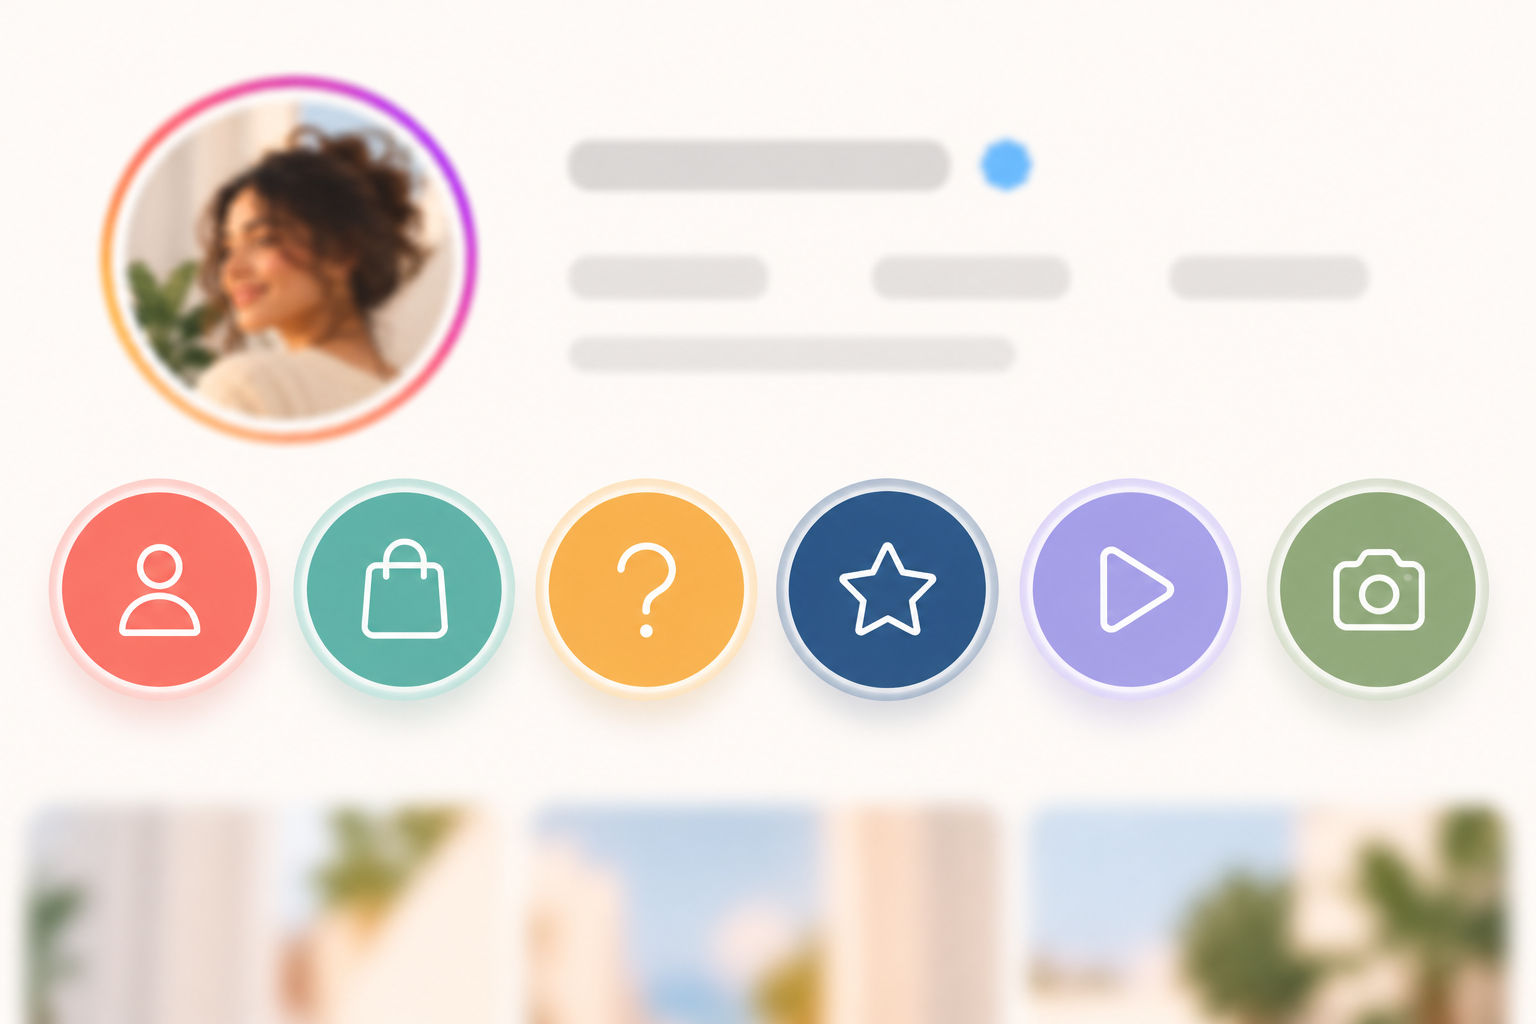
1. Organize Highlights by User Intent
Do not create random Highlights like Fun or Stuff. Use categories that help visitors decide what to do next.
- Start Here for new visitors.
- Products for bestsellers, collections or demos.
- Events for webinars, launches, workshops or store activations.
- FAQs for buying questions and objections.
- Reviews for testimonials and proof.
- Behind the Scenes for culture and process.
- Tutorials for how-to content.
2. Refresh Highlights Regularly
An outdated Highlight can hurt trust. Remove expired sale Stories. Update old event details. Replace weak frames with clearer ones. Keep covers consistent so the profile looks intentional.
A good Highlight should feel like a mini landing page, not a storage folder.
The Feature Checklist Before You Publish Anything
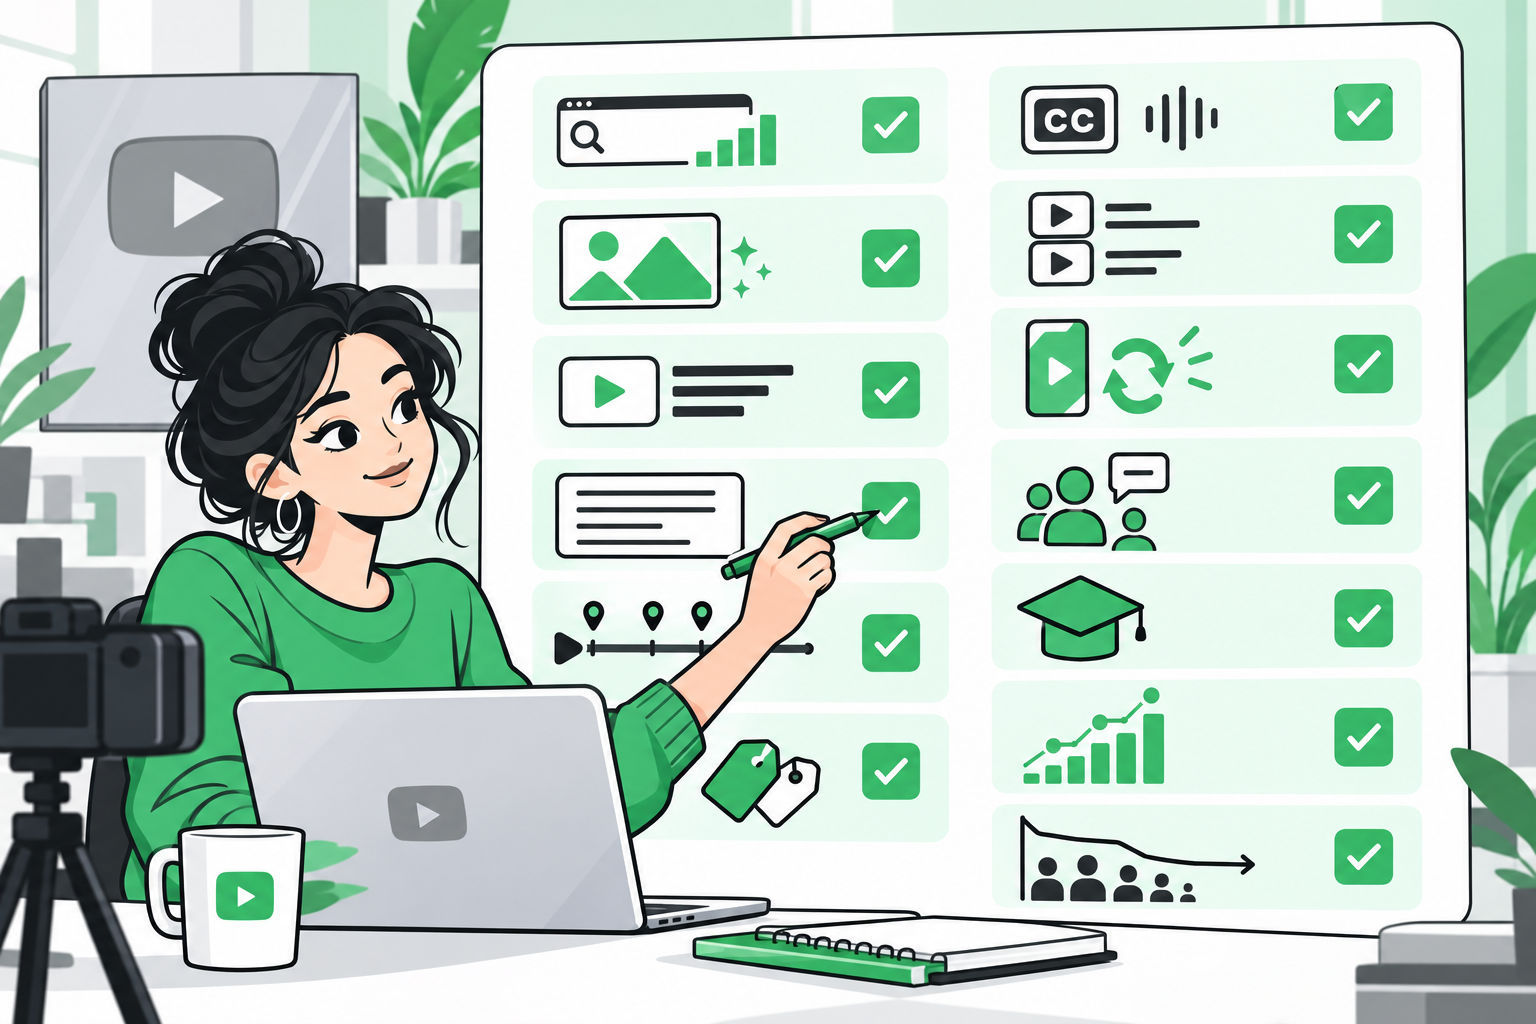
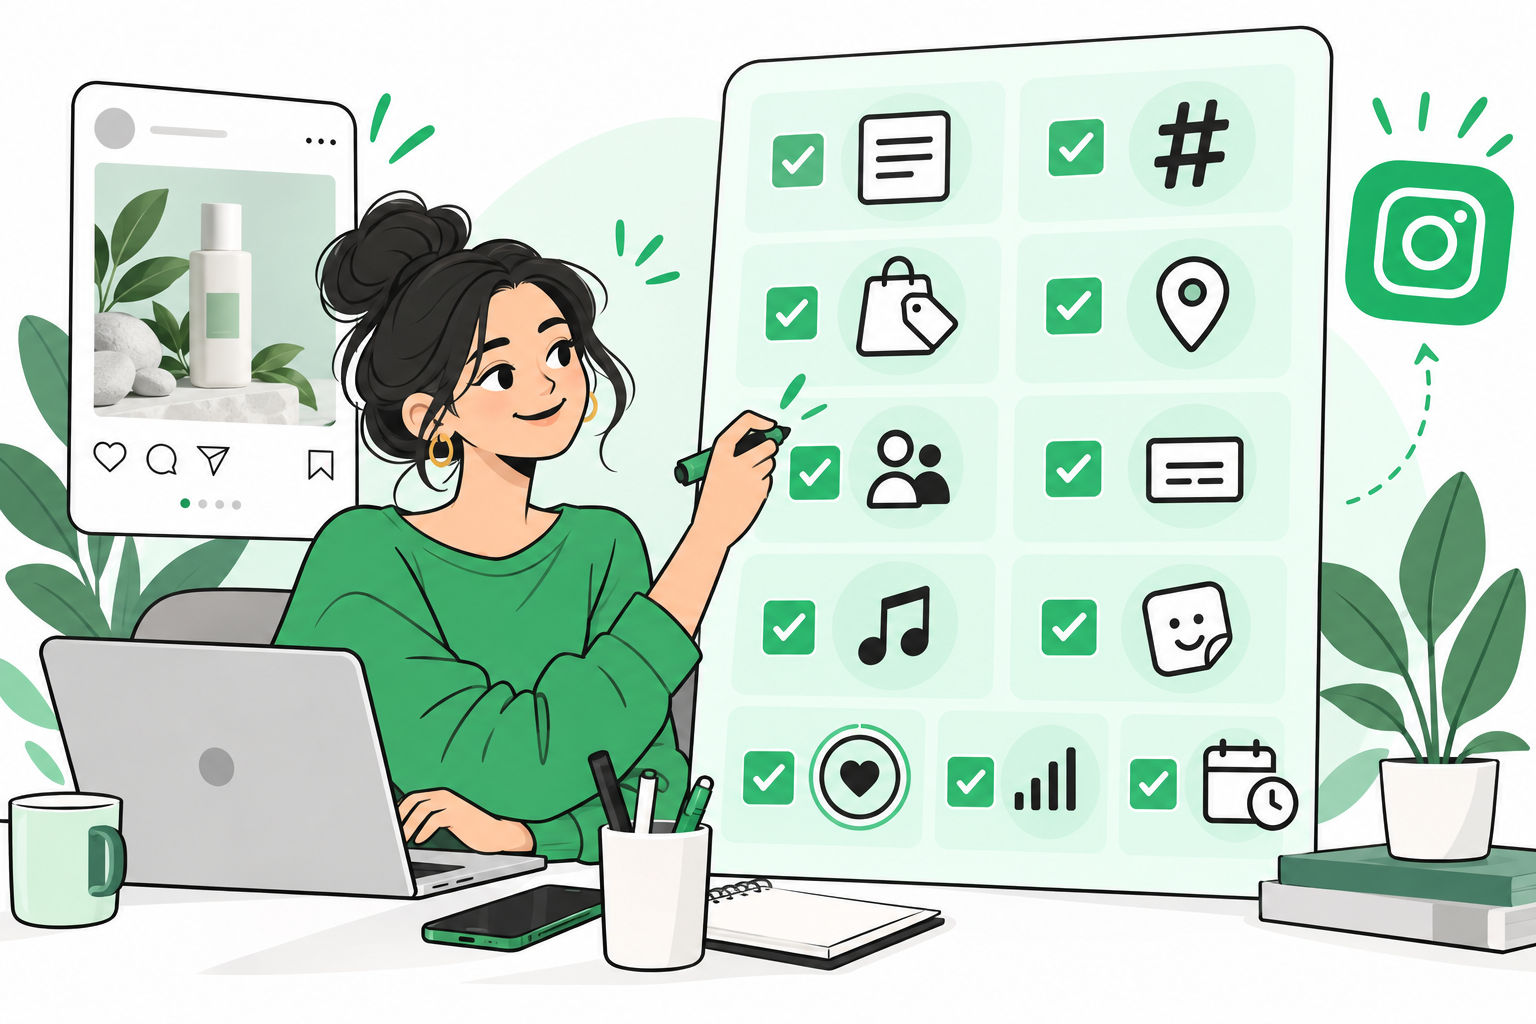
Before you publish a Reel, post or Story, run through this checklist. It catches small details that often create a big difference.
- Hook: Is the first line or first frame strong enough?
- Caption: Does it add context and include a clear action?
- Subtitles: Can people understand the video without sound?
- Music track: Does the audio support the mood or trend?
- People tags: Have you tagged relevant creators, collaborators, partners or team members?
- Product tags: Have you tagged shoppable products where relevant?
- Location tag: Would a location improve discovery or context?
- Event reminder: Is there a launch, live, sale or event people should be reminded about?
- Hashtags: Are they specific, relevant and not overused?
- Alt text: Does the image post have descriptive alt text?
- Cover: Does the Reel or carousel cover make sense on the grid?
- Scheduling: Is the post going live when the audience is active?
- Cross-posting: Should this content also go to Facebook?
- Highlights: Should this Story be saved after 24 hours?
- Insights: Do you know what metric will define success?
Scheduling Best Practices for Instagram
Scheduling is not just a convenience feature. It protects consistency.
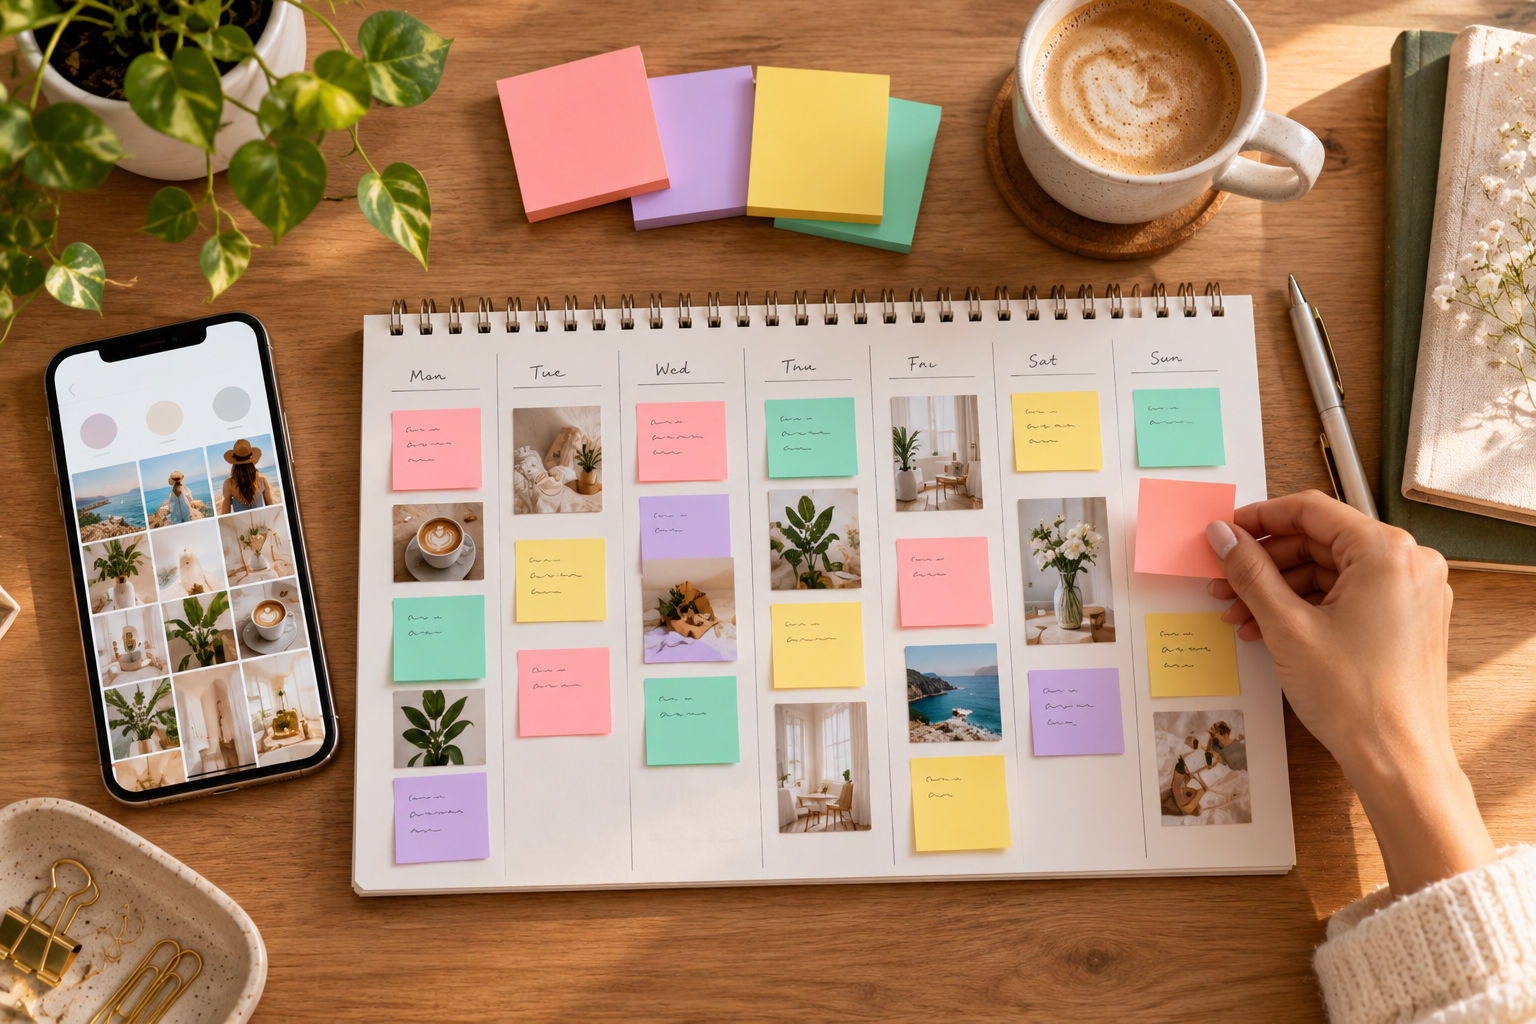
When you schedule content in advance, you can review the grid, balance formats, catch errors, align campaigns and avoid last-minute posting. This matters for teams that publish across multiple formats and channels.
Use scheduling for evergreen posts, carousels, Reels with original audio, campaign reminders and planned Stories. For content that depends on trending audio or real-time context, leave room for manual posting.
That’s where this gets useful. A weekly calendar might include two to four Reels for discovery, one or two carousels for education and saves, daily Stories for interaction and reminders, one Highlight refresh every week and one performance review to see what actually worked.
The exact number matters less than the rhythm. A sustainable cadence beats an aggressive schedule you abandon after two weeks.
Cross-Posting Best Practices
Cross-posting can extend reach, especially when a Reel can also work on Facebook. But not every Instagram asset should be copied everywhere without thought.
Cross-post when the content is platform-safe, broadly relevant and not dependent on Instagram-only context. Product demos, educational Reels, behind-the-scenes clips and brand stories often work well. Avoid cross-posting content that references Instagram-specific actions like tap the sticker above or reply to this Story unless the experience makes sense on the destination platform.
Also check music rights and publishing limitations. Some scheduling workflows may support original audio more smoothly than trending audio. If the audio is the core of the trend, manual publishing may still be the better option.
A Practical Instagram Content System
Here is a simple way to plan your week.
Step 1: Pick One Business Goal
Do you want reach, engagement, traffic, sales, event signups, product education or trust? Start there. The goal decides the format.
Step 2: Choose the Best Format
If the goal is reach, create a Reel. If the goal is education, create a carousel. If the goal is response, use Stories. If the goal is profile conversion, update Highlights.
Step 3: Add the Right Features
Do not use every feature. Use the features that make the content stronger. A launch needs reminders. A store visit needs location. A product demo needs product tags. A partnership needs people tags or collaborator invites. A video needs captions. A mood-led Reel may need music. A planned campaign needs scheduling. A broad video may deserve cross-posting.
Step 4: Measure by Format
Do not judge every format by the same metric. Reels should be judged by reach, watch time, shares and follows. Posts should be judged by saves, shares, profile visits and comments. Stories should be judged by replies, taps, link clicks, sticker interactions and completion. Highlights should be judged by whether they answer important profile visitor questions.
When you measure correctly, your next content decision becomes clearer.
Final Solution: Use Instagram Like a System, Not a Feed
The best Instagram strategy is not about choosing Reels over posts or Stories over Highlights. It is about using each format for the job it does best.
- Use Reels to reach new people.
- Use posts to explain ideas and earn saves.
- Use Stories to create daily interaction.
- Use Highlights to turn attention into trust.
Then sharpen each piece with the right features: subtitles, music, product tags, people tags, location tags, event reminders, scheduling, cross-posting, stickers, links, covers, alt text and insights.
That is the proof of a mature Instagram workflow. Content stops being random. Every format has a job. Every feature has a reason. Every post gives you a signal for what to do next.
And that is how Instagram starts working like a channel, not a guessing game.
FAQs
What are the most important Instagram best practices for brands?
The most important Instagram best practices are to match the format to the goal, create strong hooks, use captions and subtitles, tag relevant people or products, post consistently, save important Stories to Highlights and review insights before planning the next batch of content.
Are Reels better than Instagram posts?
Reels are usually better for reach and discovery, while posts are better for depth, education and saves. A strong Instagram strategy uses both instead of treating one format as a replacement for the other.
How should brands use Instagram Stories?
Brands should use Instagram Stories for timely updates, polls, questions, countdowns, links, reminders, behind-the-scenes content and community interaction. The best Stories are quick, clear and easy to respond to.
What should go into Instagram Highlights?
Instagram Highlights should include evergreen content such as product information, FAQs, reviews, tutorials, events, behind-the-scenes stories and start-here guidance for new profile visitors.
Should brands schedule Instagram content in advance?
Yes. Scheduling helps brands stay consistent, review content before publishing and coordinate campaigns. Leave flexibility for real-time trends, but schedule evergreen Reels, posts and planned Stories whenever possible.